
Thieving Otter Farm cage assembly instructions
Parts list:

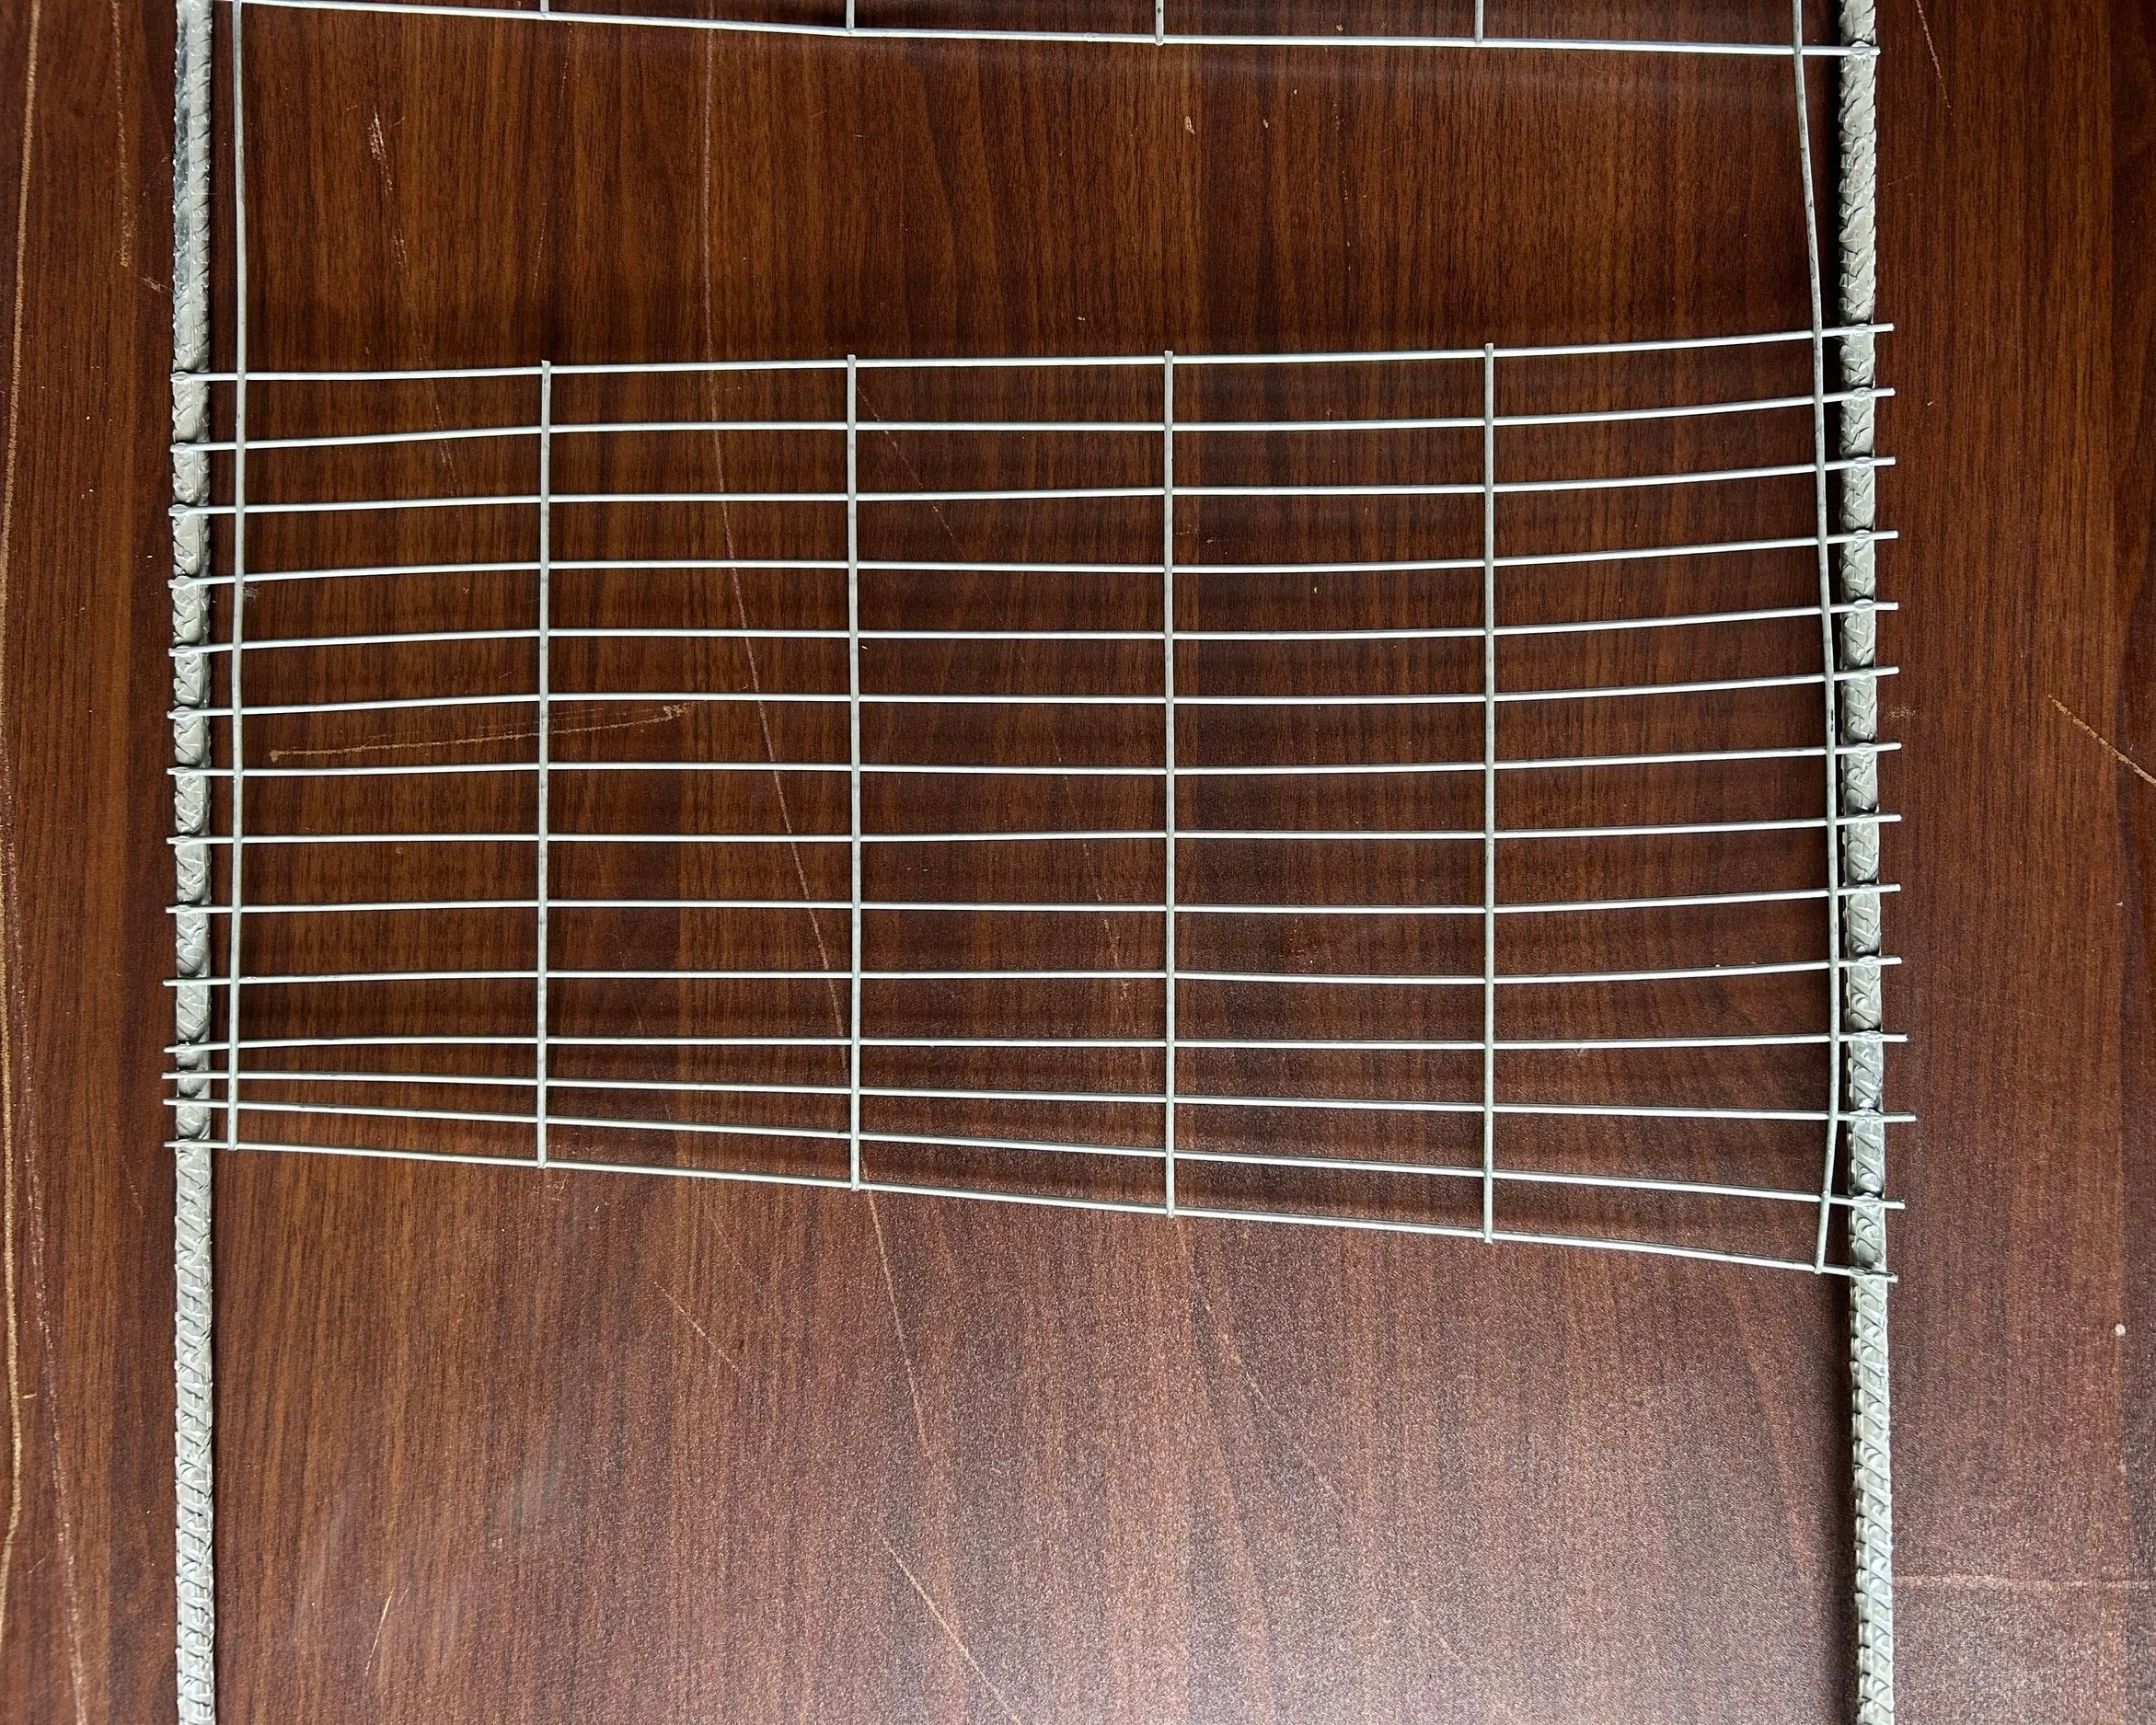
Side panel x 2

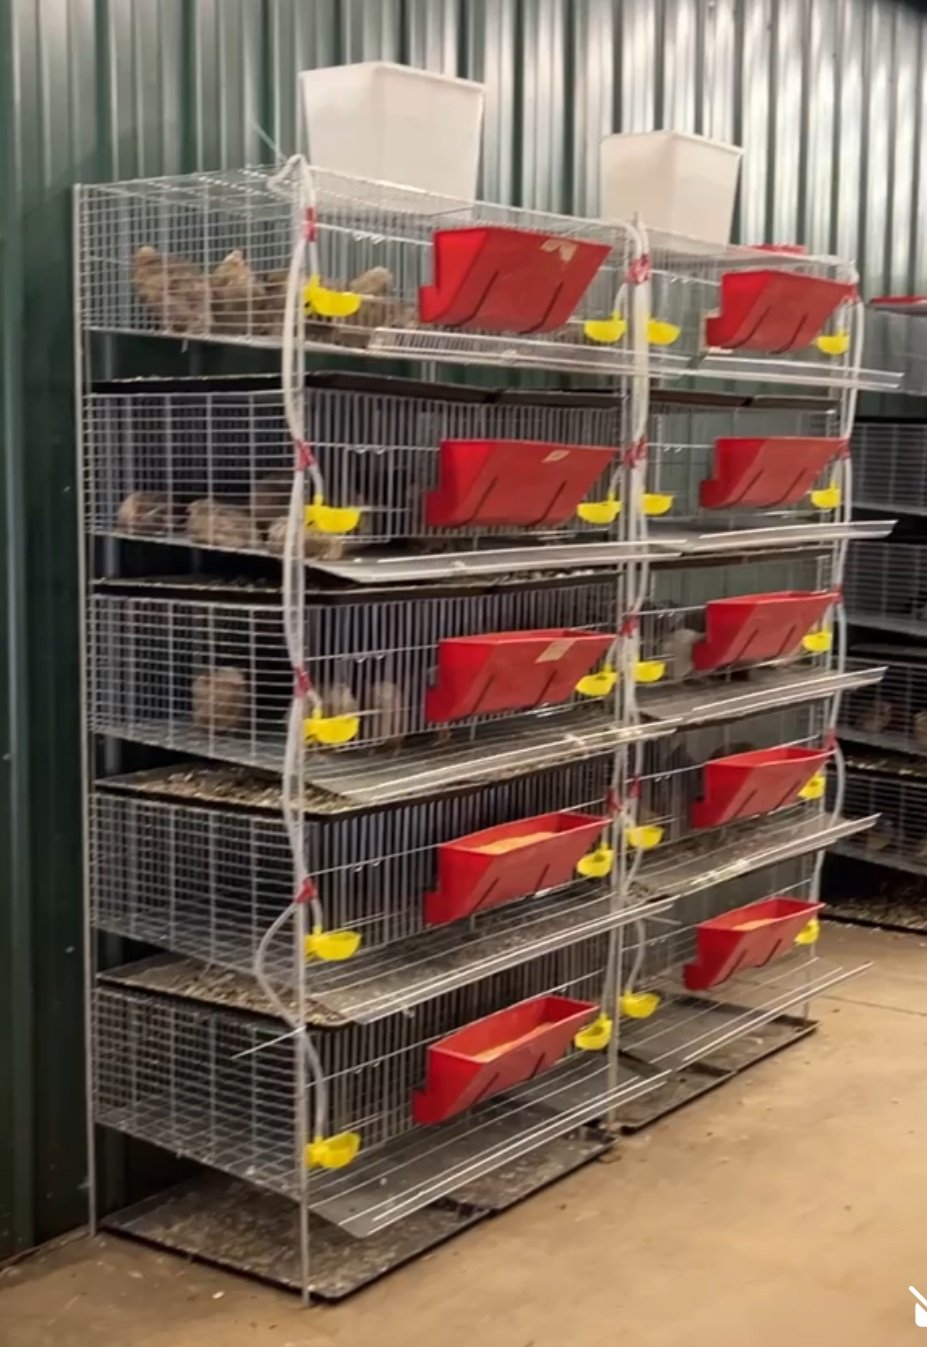
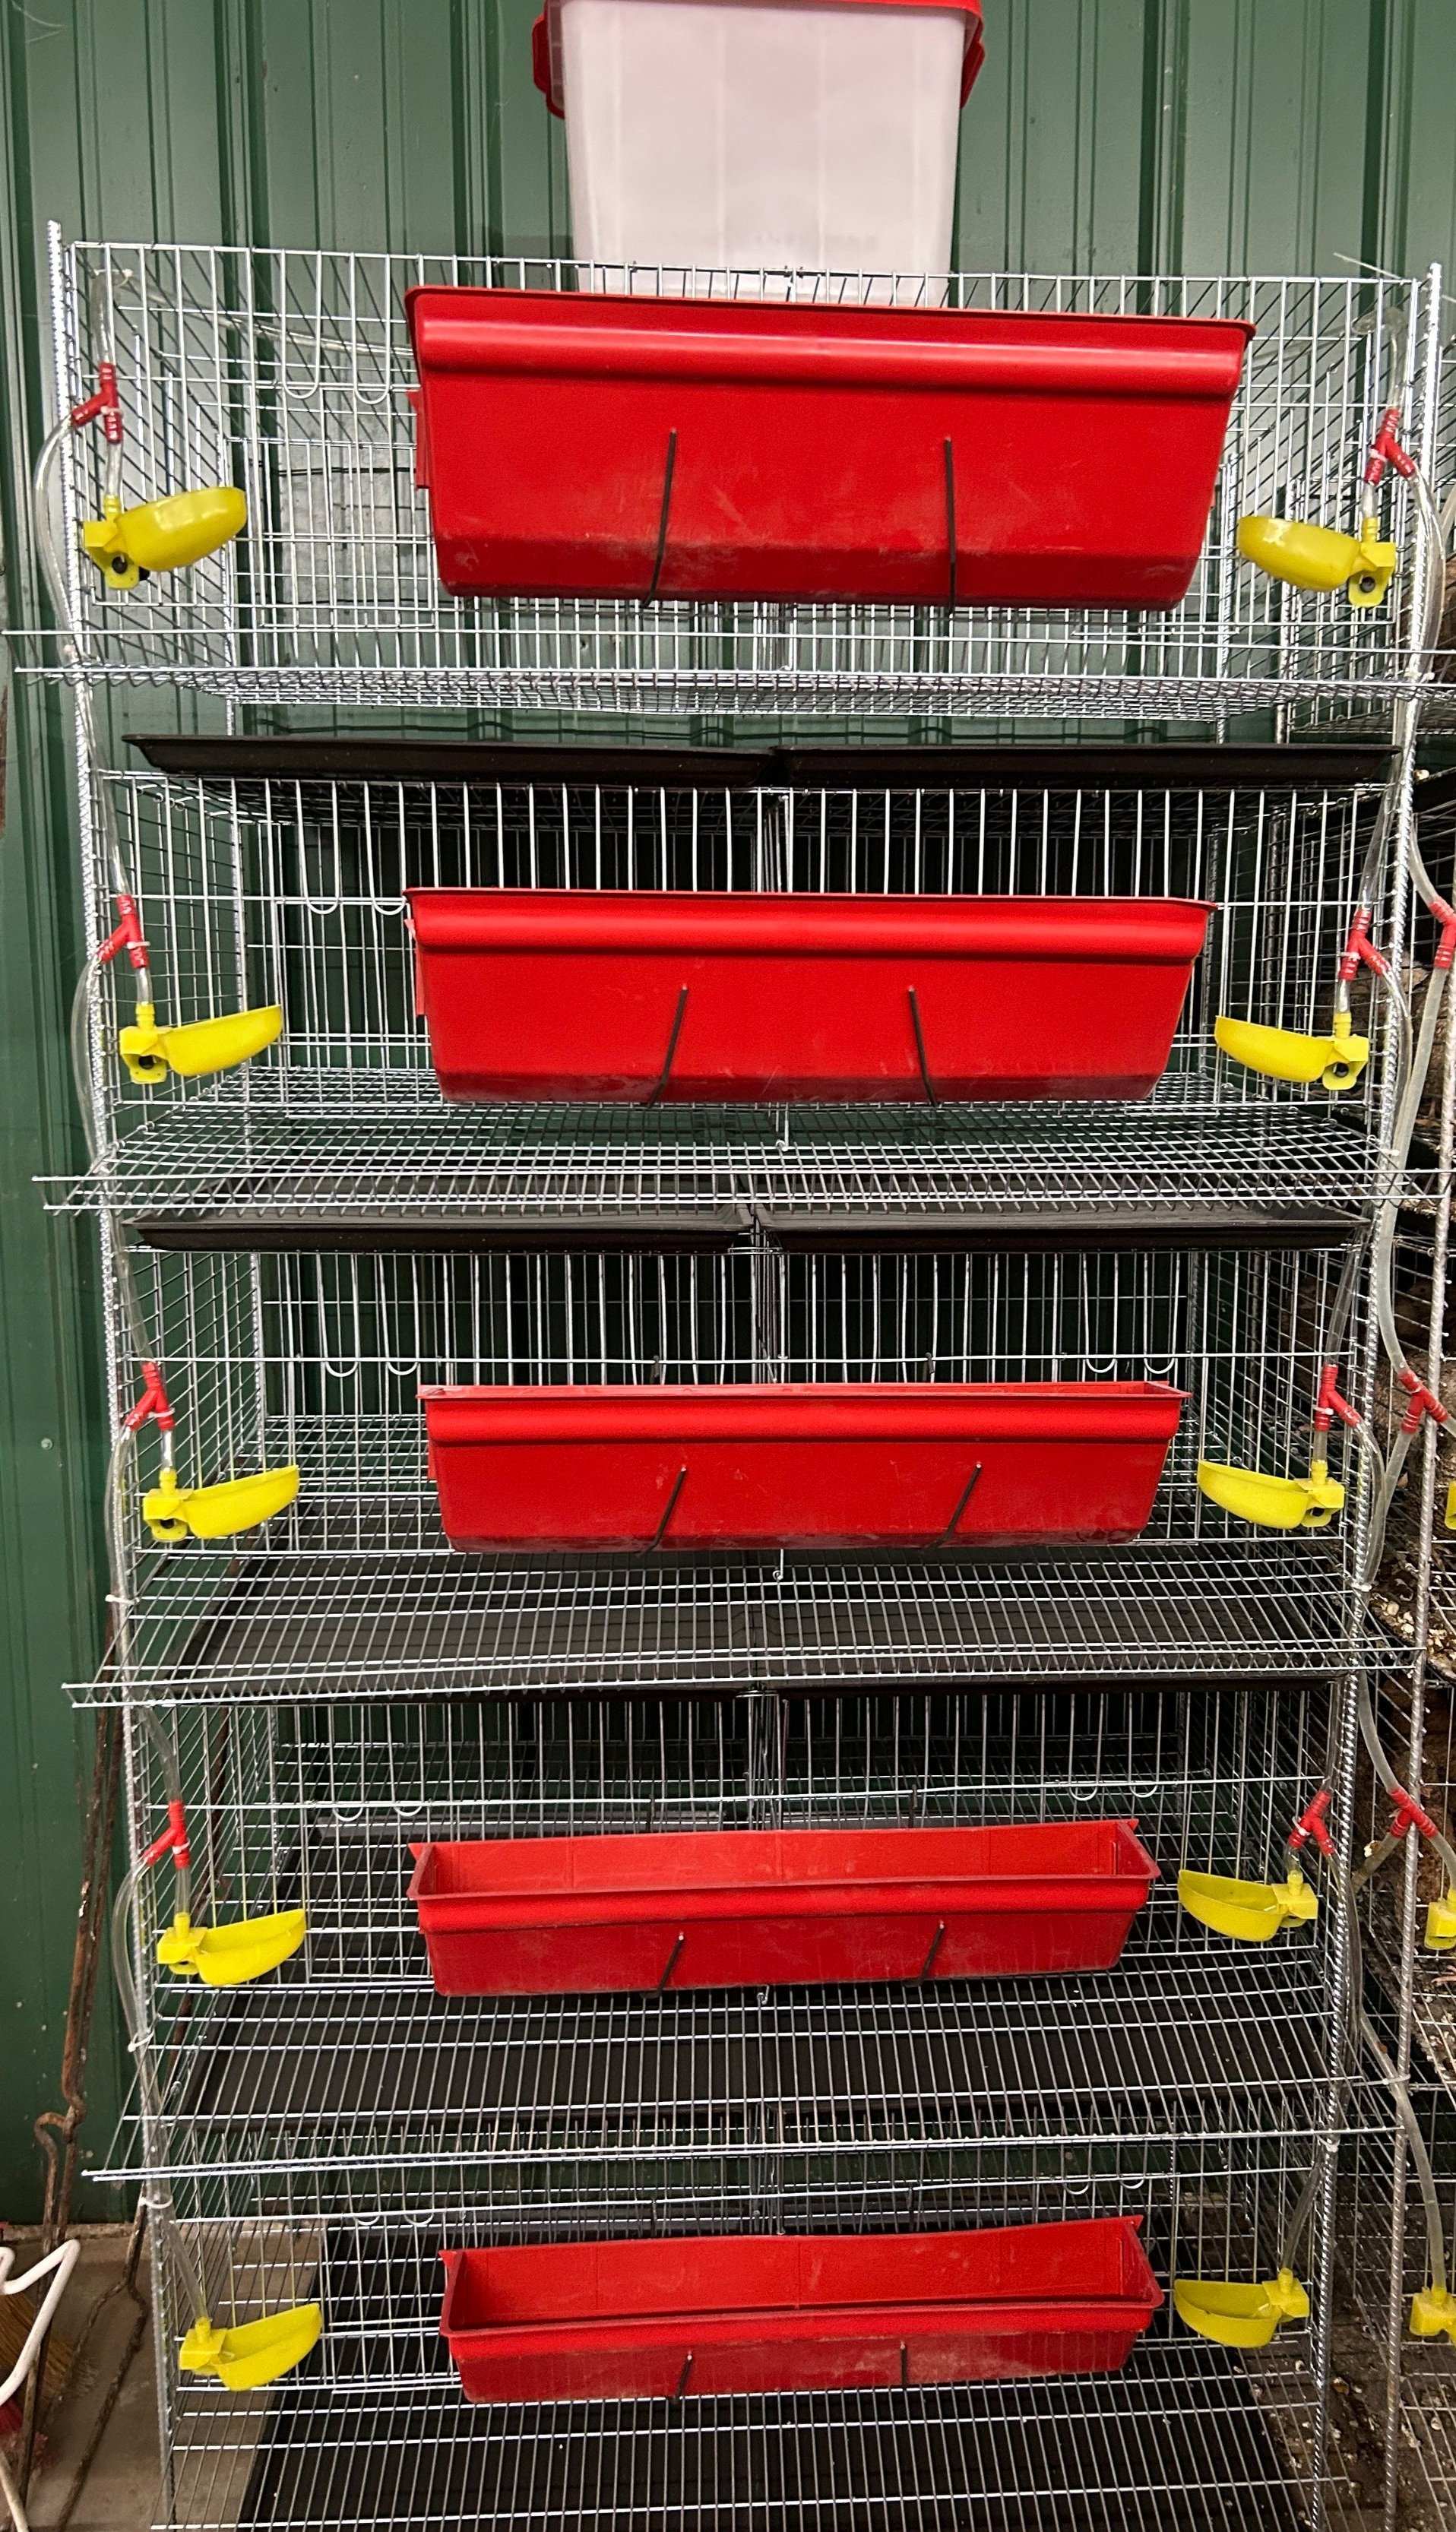
Pic A: Egg rollout tray x 5

Pic B: Cage top x 5


Pic C: Center support x 5
Pic D: Cage front x 5

Pic E: Cage back x 5

Pic F: Cage doors - will need to cut individual doors from multi-door panel.

Ring tool x 1
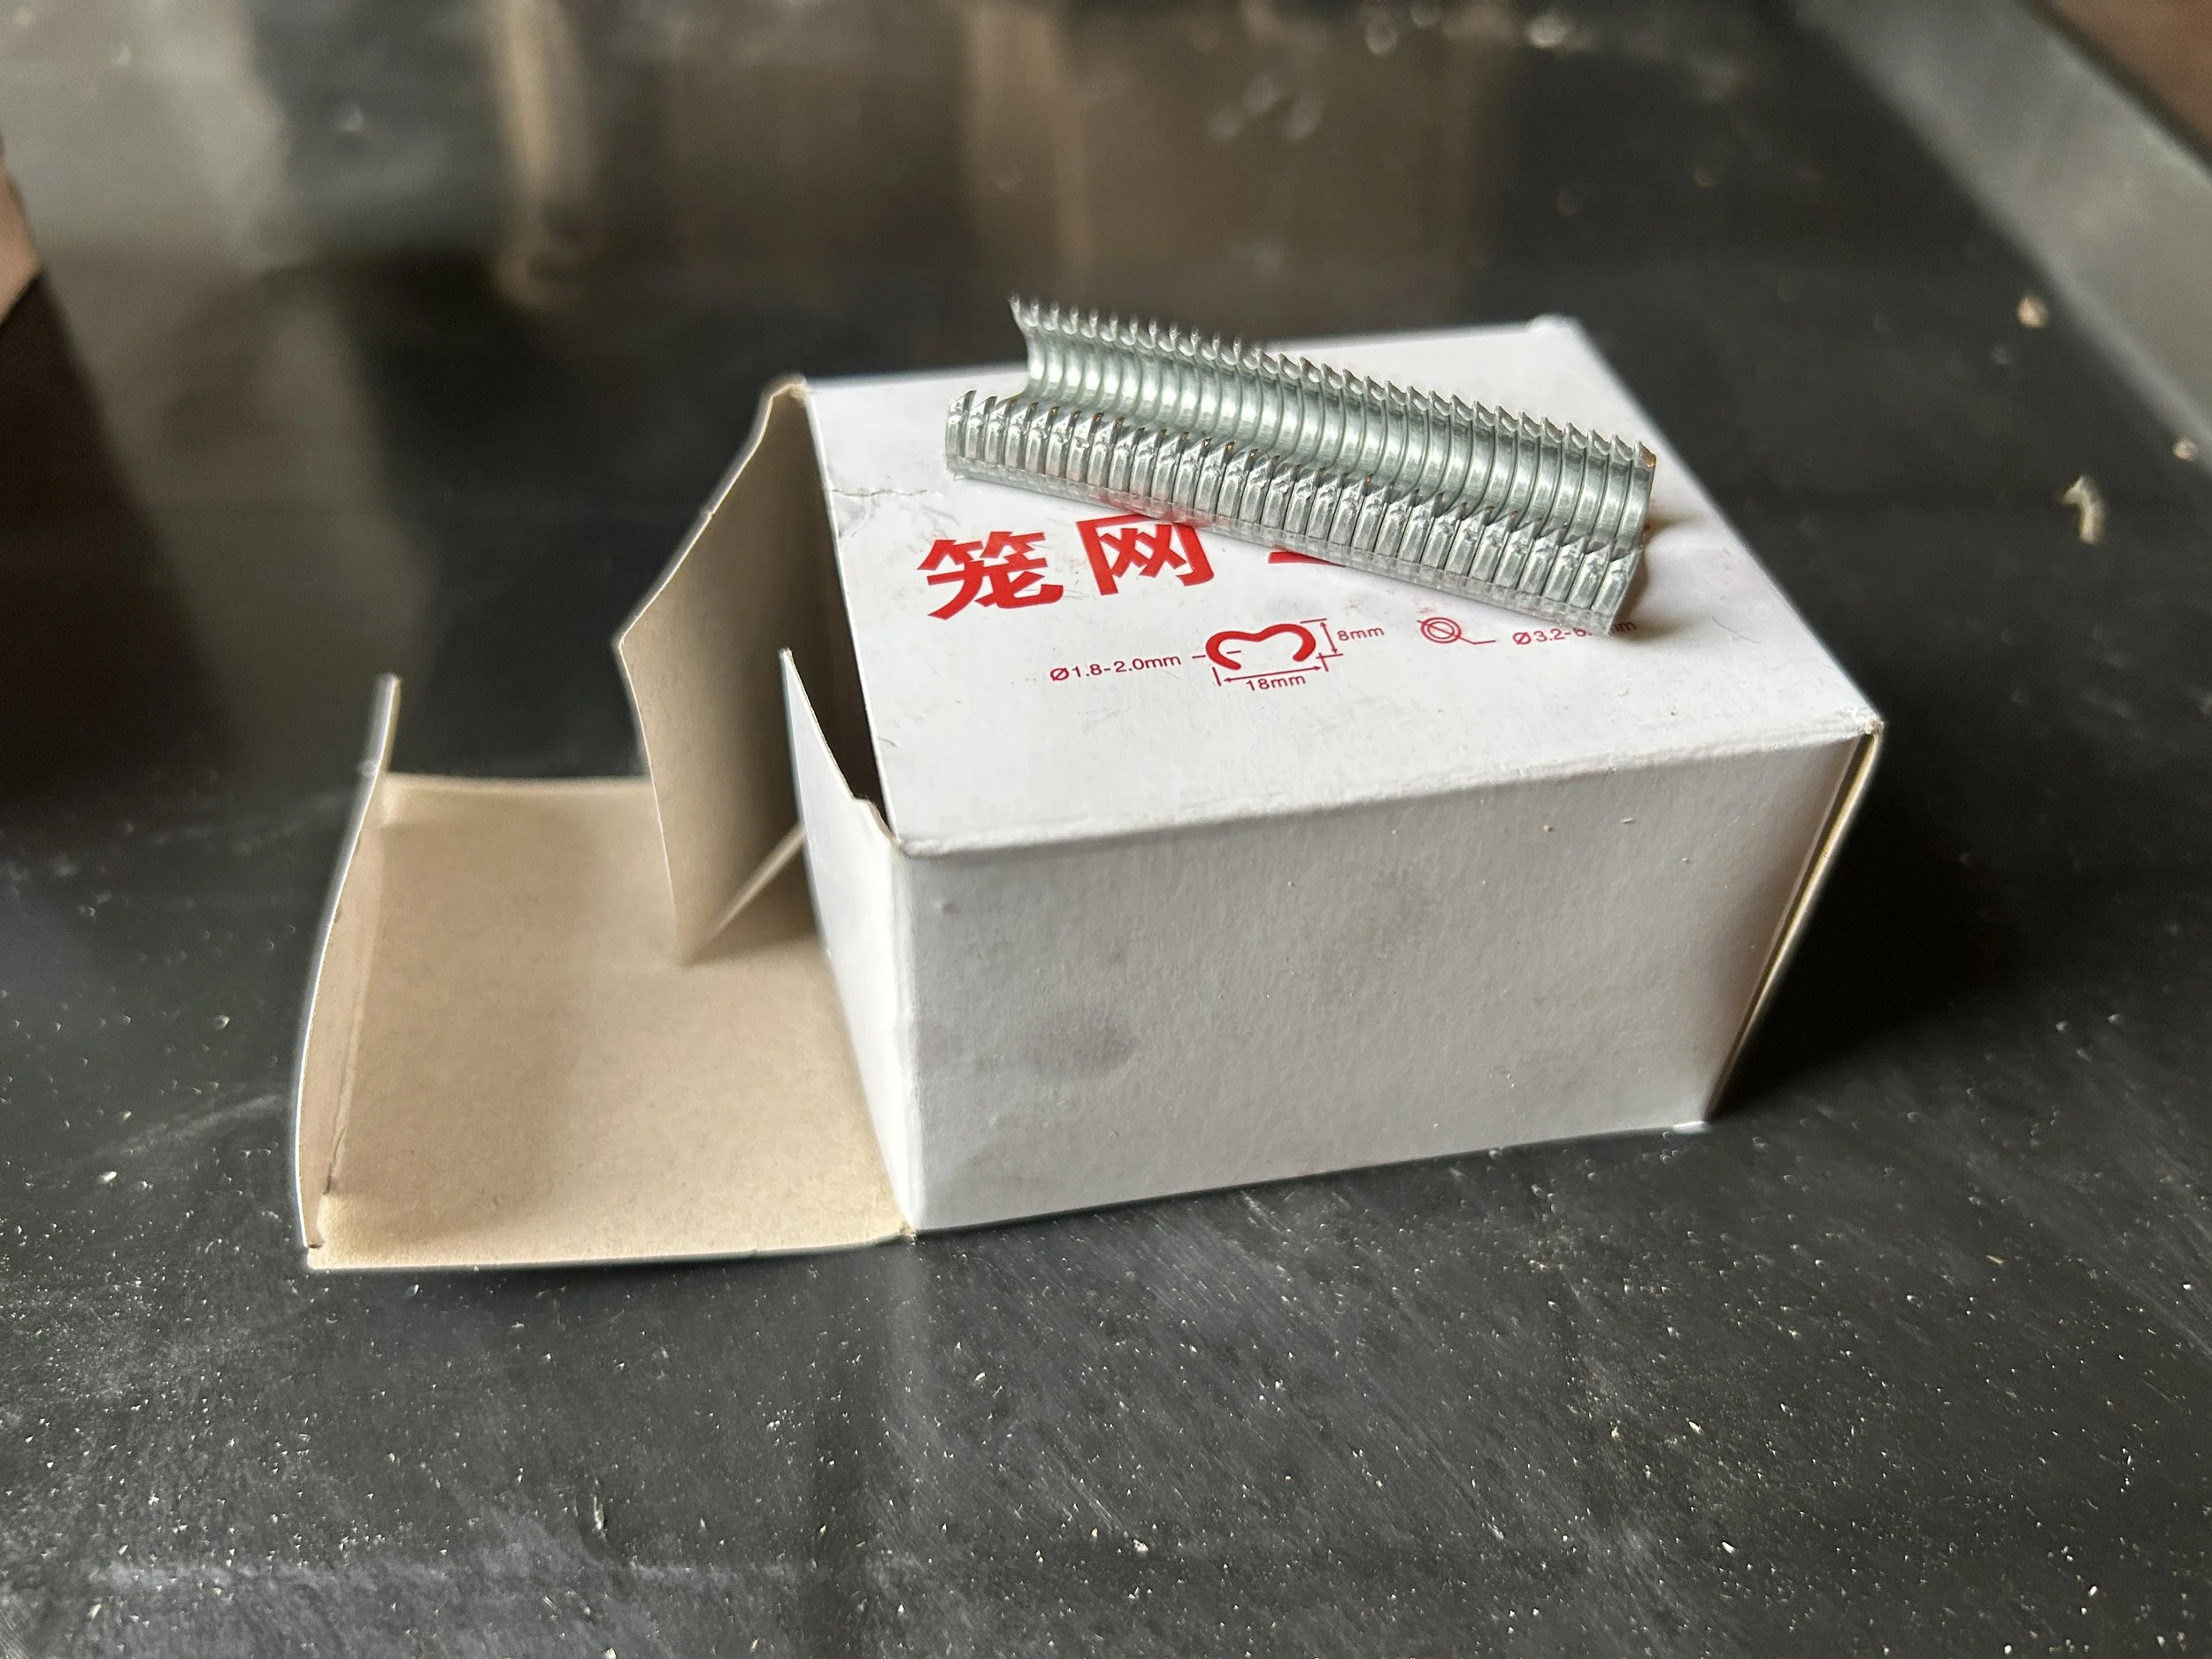
Cage rings

19 feet of tubing

10 manure trays

10 water cups,
8 Y splits,
10 screws


Water bucket and lid

T connector and optional float valve

10 feeder hangers
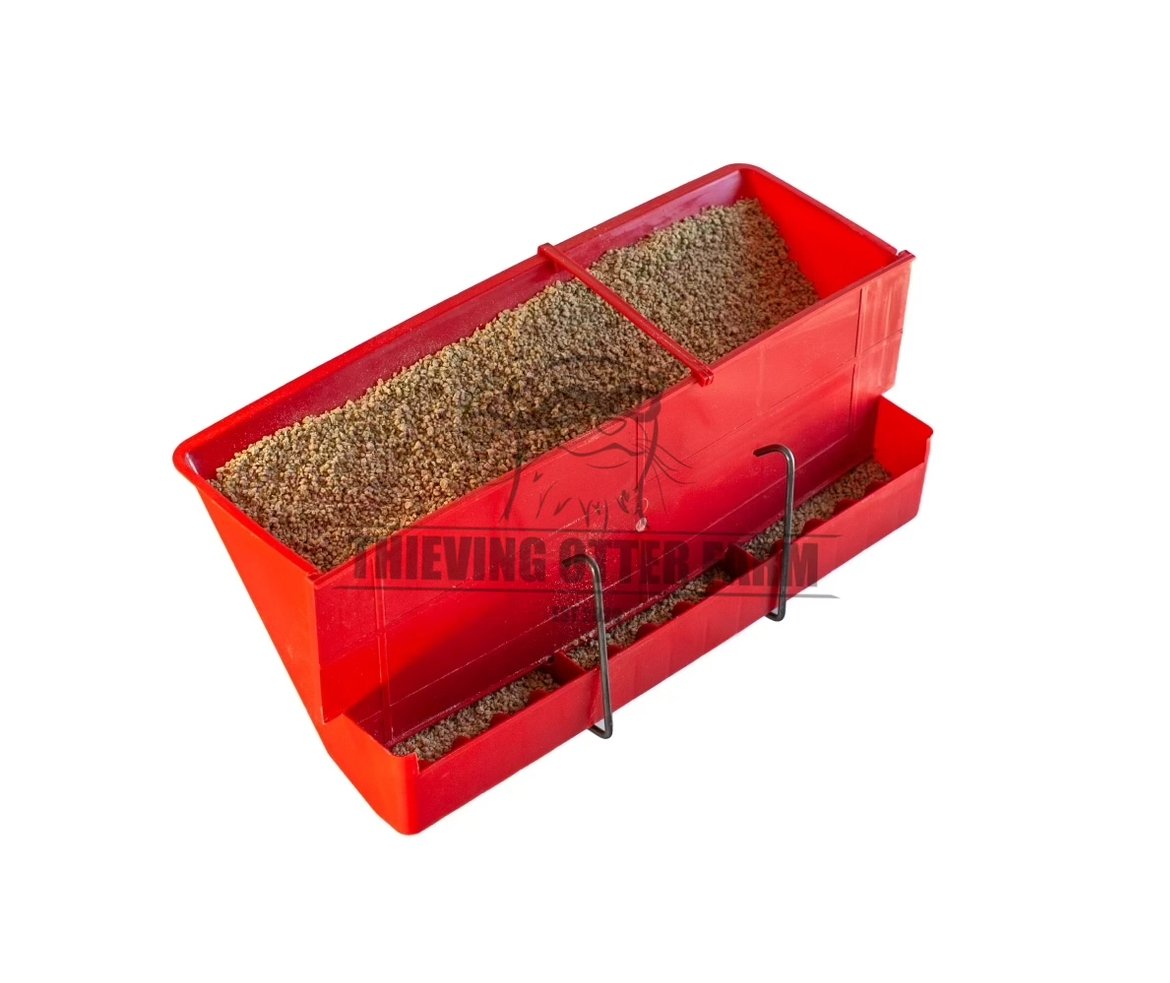
Feeder x 5

Pic G
Pic H: Short side on left,
long side on right.
Side panels: rebar needs to be on the outside. (Pic G)
There is a short side and a long side. The long side goes to the front. (Pic H)

Attach egg rollout tray to the bottom of each side section. (Pic D). Be sure the back of the egg rollout tray is positioned on the short end of the side panel, and the curved part of the egg rollout is towards the long end of the side panel. This creates the slope for the eggs to roll.
Attach cage top to the top of each side section.
Attach cage back to the back of each section.
Attach the center support. Must be centered. On the two shorter ends, one is long and one is short. The short part goes to the back.
Attach cage front to the front of each section. The looped part of the door opening goes on top.

Cut individual doors from the door panels. Attach with two rings on the top of the door so that the door swings inward. Can attach a ring loosely to one side of the door and door opening that can be slid up and down to act as a lock.

Attach T connector to the bottom of the bucket. Water hoses will attach to each side.
Use the screws to attach the water cups on either side of each cage section. There are cups for the left and right sides. Be sure the spring is set correctly and that the cup can move freely.
Attach the water lines using the Y piece for each junction.
Assemble the feeders. Hang the wire hangers on the cage and place the feeders in the hangers.

Add two manure trays to each section. The bottom trays lie on the floor.